
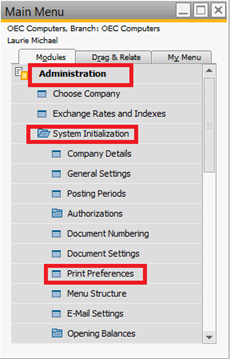
You can use your print preferences for the bulk email function by using your main menu in SAP and choosing Administration > System Initialization > Print Preferences.
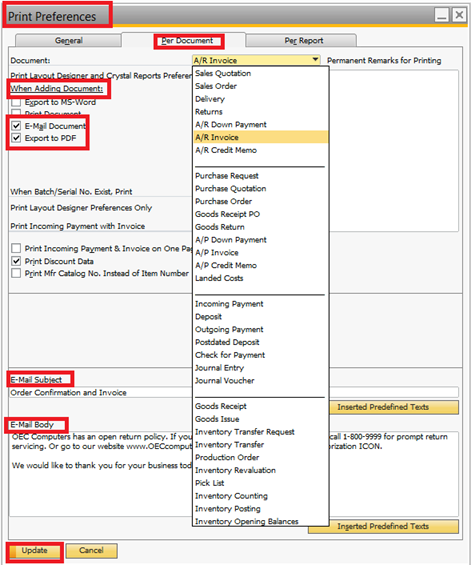
From the print preferences menu, you would go to the “Per Document” tab and in that window you can choose which document you want to email and or send a PDF file. Enter the text you wish to print in the subject and body of your email along with the document, then update.
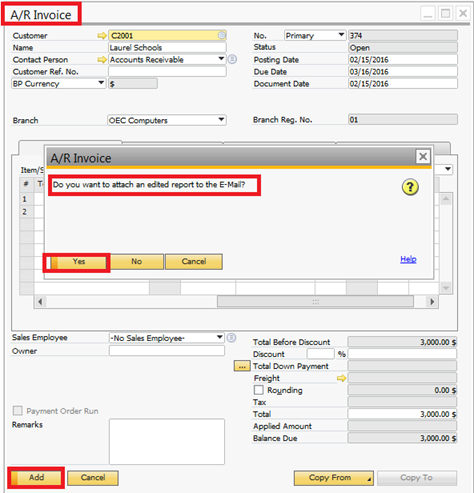
If you have any items checked under “When adding Document”, your system will automatically prompt you at that time, and you will see below, when you generate and add an A/R invoice.
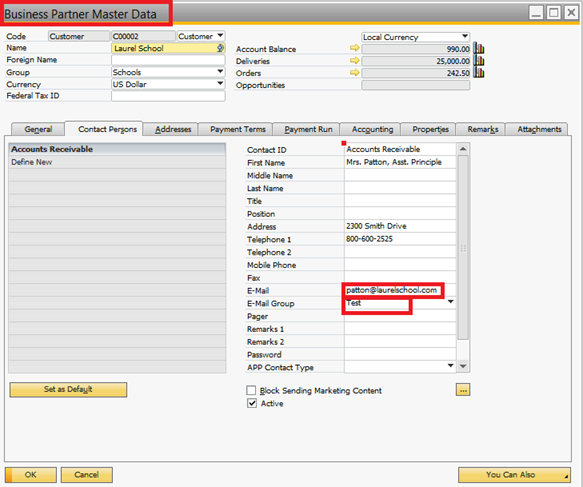
At this point you want to make sure your email contact information or email group if preferred, is setup and entered in the Business Partner Master.
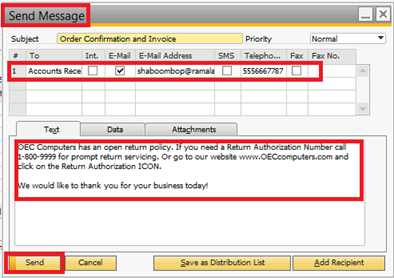
The next screen to open will be the “Send Message” Screen. This is where you can choose your email addresses, and make sure the text is what you want to print in your email, when you click “Send” your message and documents will be emailed to customers.
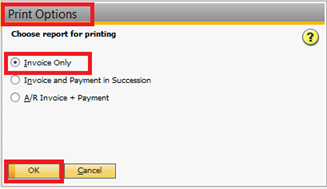
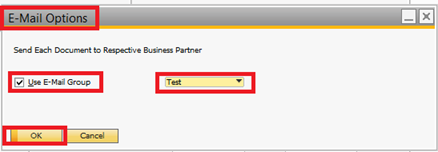
After which you will have another window called “Print Options” that will ask to choose the report for printing, and you will pick “Invoice Only”, and click “Ok”. At this time, your system is creating PDF’s for the invoices you have chosen. “Email Options” window is where you would choose to use an Email group and the group specified. Here I have chosen to use it and the group “test”, but this is not a requirement. You can uncheck the box and choose the contacts separately, in the next window.
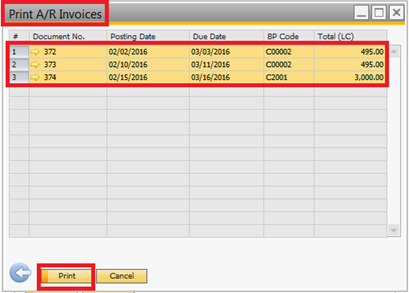
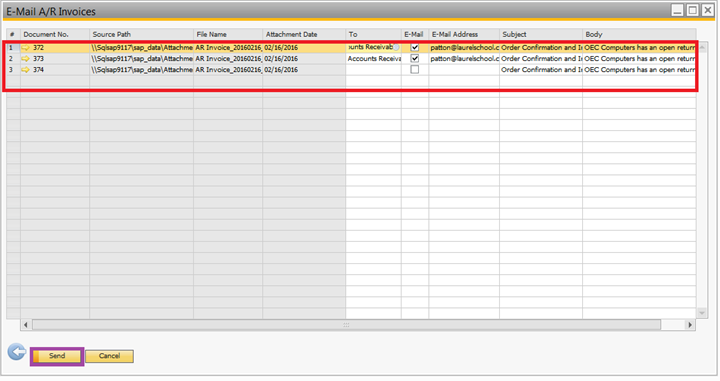
Finally, your contact list appears and from this window you may choose your email contacts to which you would like the invoices to be sent. This window appears whether you have chosen to use an Email group or not. Once your choices are confirmed or set, you may click “Send”.
In this procedure, you may select Outlook Integration or SBO mailer, either program can work and will depend on how your system is setup.